
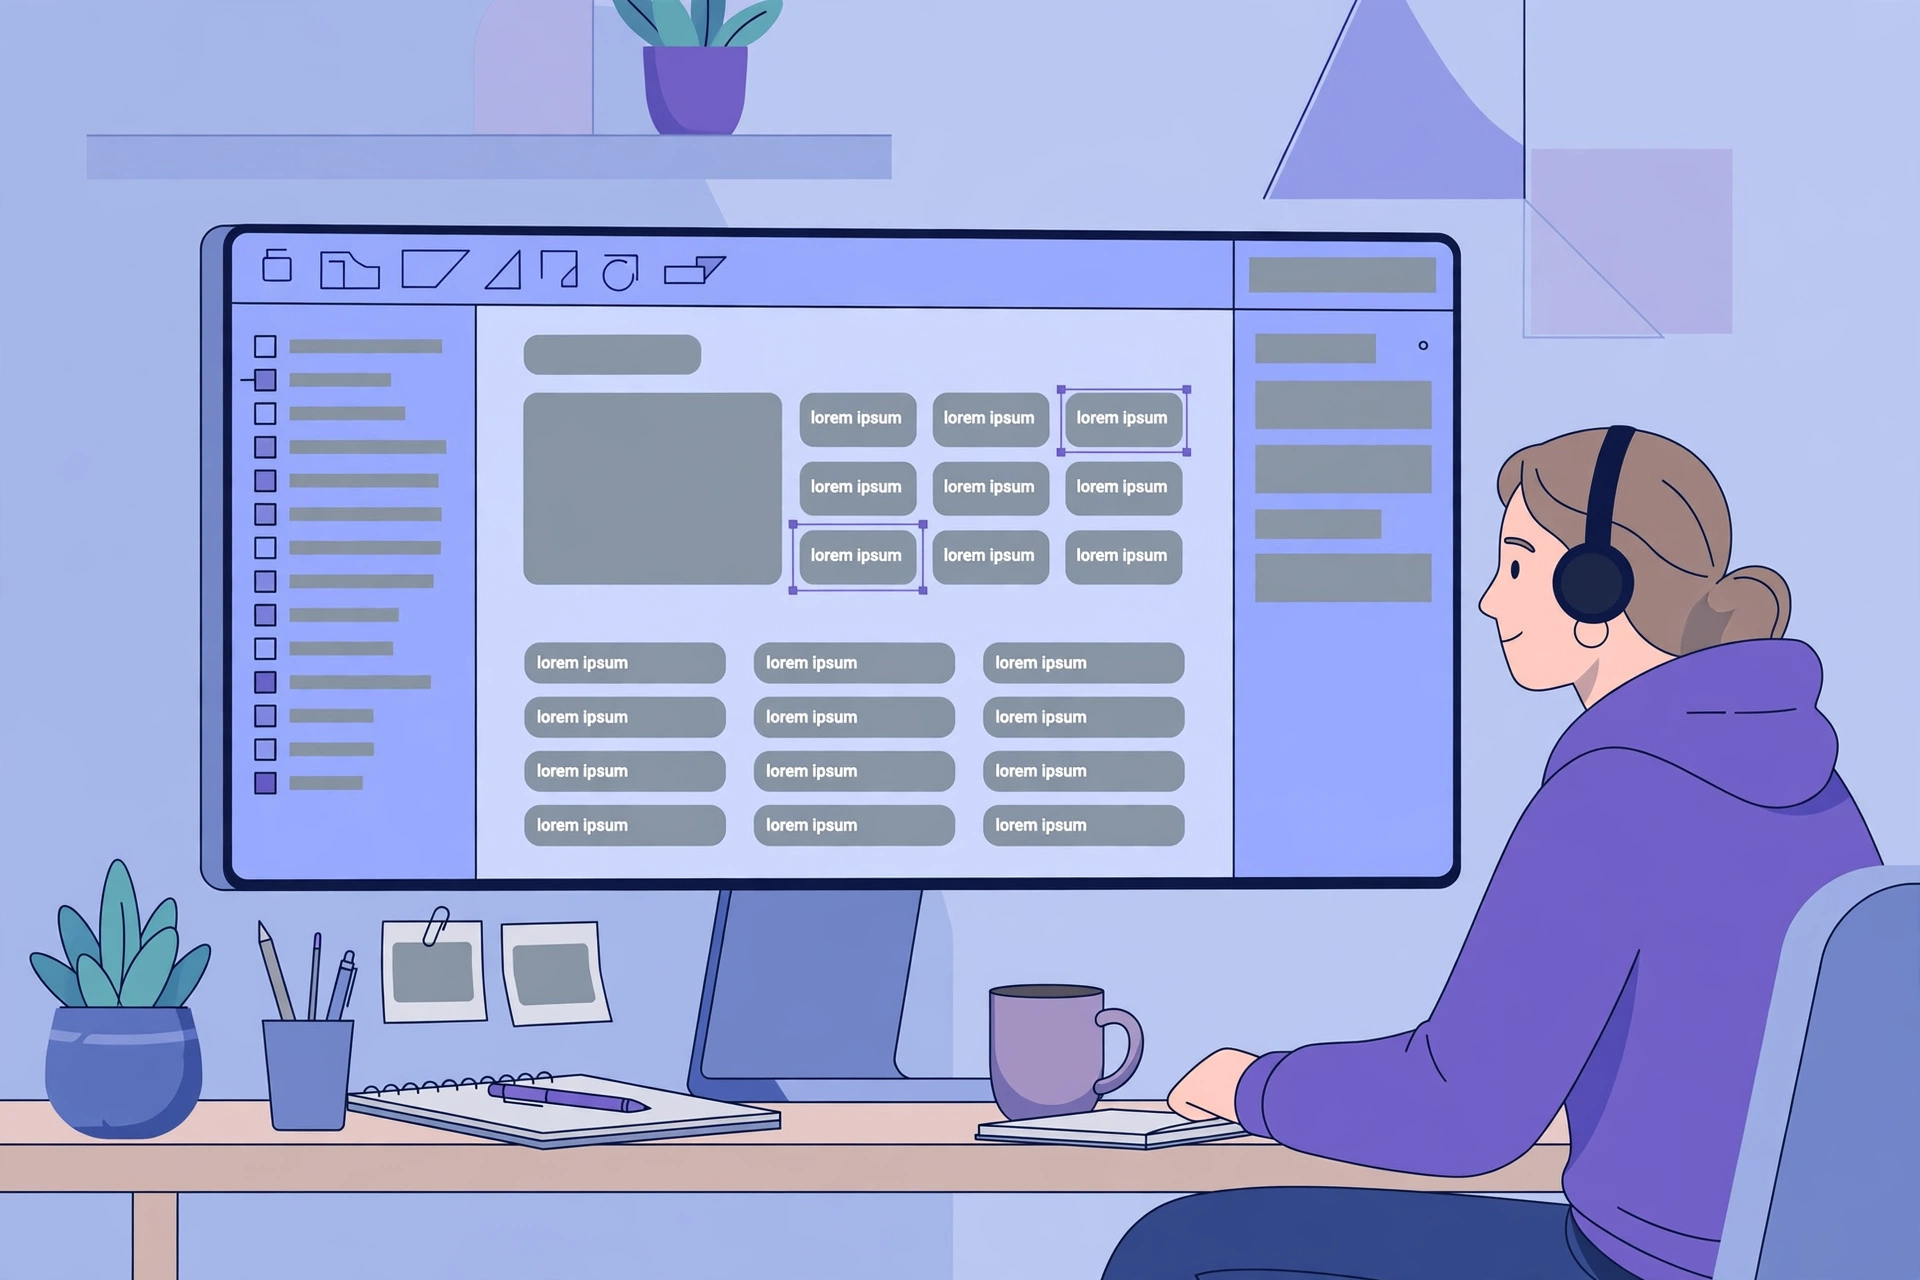
If you design in Figma, you have probably stared at a beautiful layout with empty text boxes and wondered what to put in them. That is where lorem ipsum in Figma comes in. A few lines of placeholder text let you see how a design will really look — how long a headline runs, whether a card fits its paragraph, and how a page flows — long before the final copy exists.
This guide shows you the three easiest ways to add figma placeholder text to your designs: pasting it in from a free generator, using a figma lorem ipsum plugin, and reusing text styles so your filler stays consistent. No sign-up, no cost, and no design experience beyond the basics of Figma.
Why Designers Use Lorem Ipsum in Figma
Real copy draws the eye to the words. Placeholder text draws the eye to the design. When a client or teammate looks at a mockup filled with lorem ipsum, they judge the layout, the spacing and the type — not a half-finished sentence you wrote in a hurry.
That is why placeholder text figma workflows are standard in UI and web design. Filler text is useful for:
- Wireframes — showing the structure of a page before any real content exists.
- High-fidelity mockups — testing how a finished screen will look with realistic text lengths.
- Design systems — checking that a card, list or article component works with short and long text.
- Client presentations — keeping the focus on the design instead of draft wording.
Figma does not include a built-in lorem ipsum button, so designers add it with a plugin or by pasting text from a generator. Both ways take less than a minute once you know them.
Method 1: Paste Lorem Ipsum from a Free Generator
The simplest way to add lorem ipsum in Figma is to generate the text outside Figma and paste it in. This works in every version of Figma, including the free plan, and it needs no plugin at all.
- Open our free Lorem Ipsum Generator and choose how many paragraphs or words you need.
- Click generate, then copy the text.
- In Figma, select the Text tool (or press T) and draw a text box where the copy will go.
- Paste the text in. Figma keeps your font, size and line height, so the filler instantly looks like part of the design.
This method gives you the most control. You can generate exactly the length you need — a single sentence for a button label, or three paragraphs for a blog card — and you can regenerate it as many times as you like. If you are new to filler text, our complete guide to dummy text generators explains what each type of generator does and when to use it.
Method 2: Use a Figma Lorem Ipsum Plugin
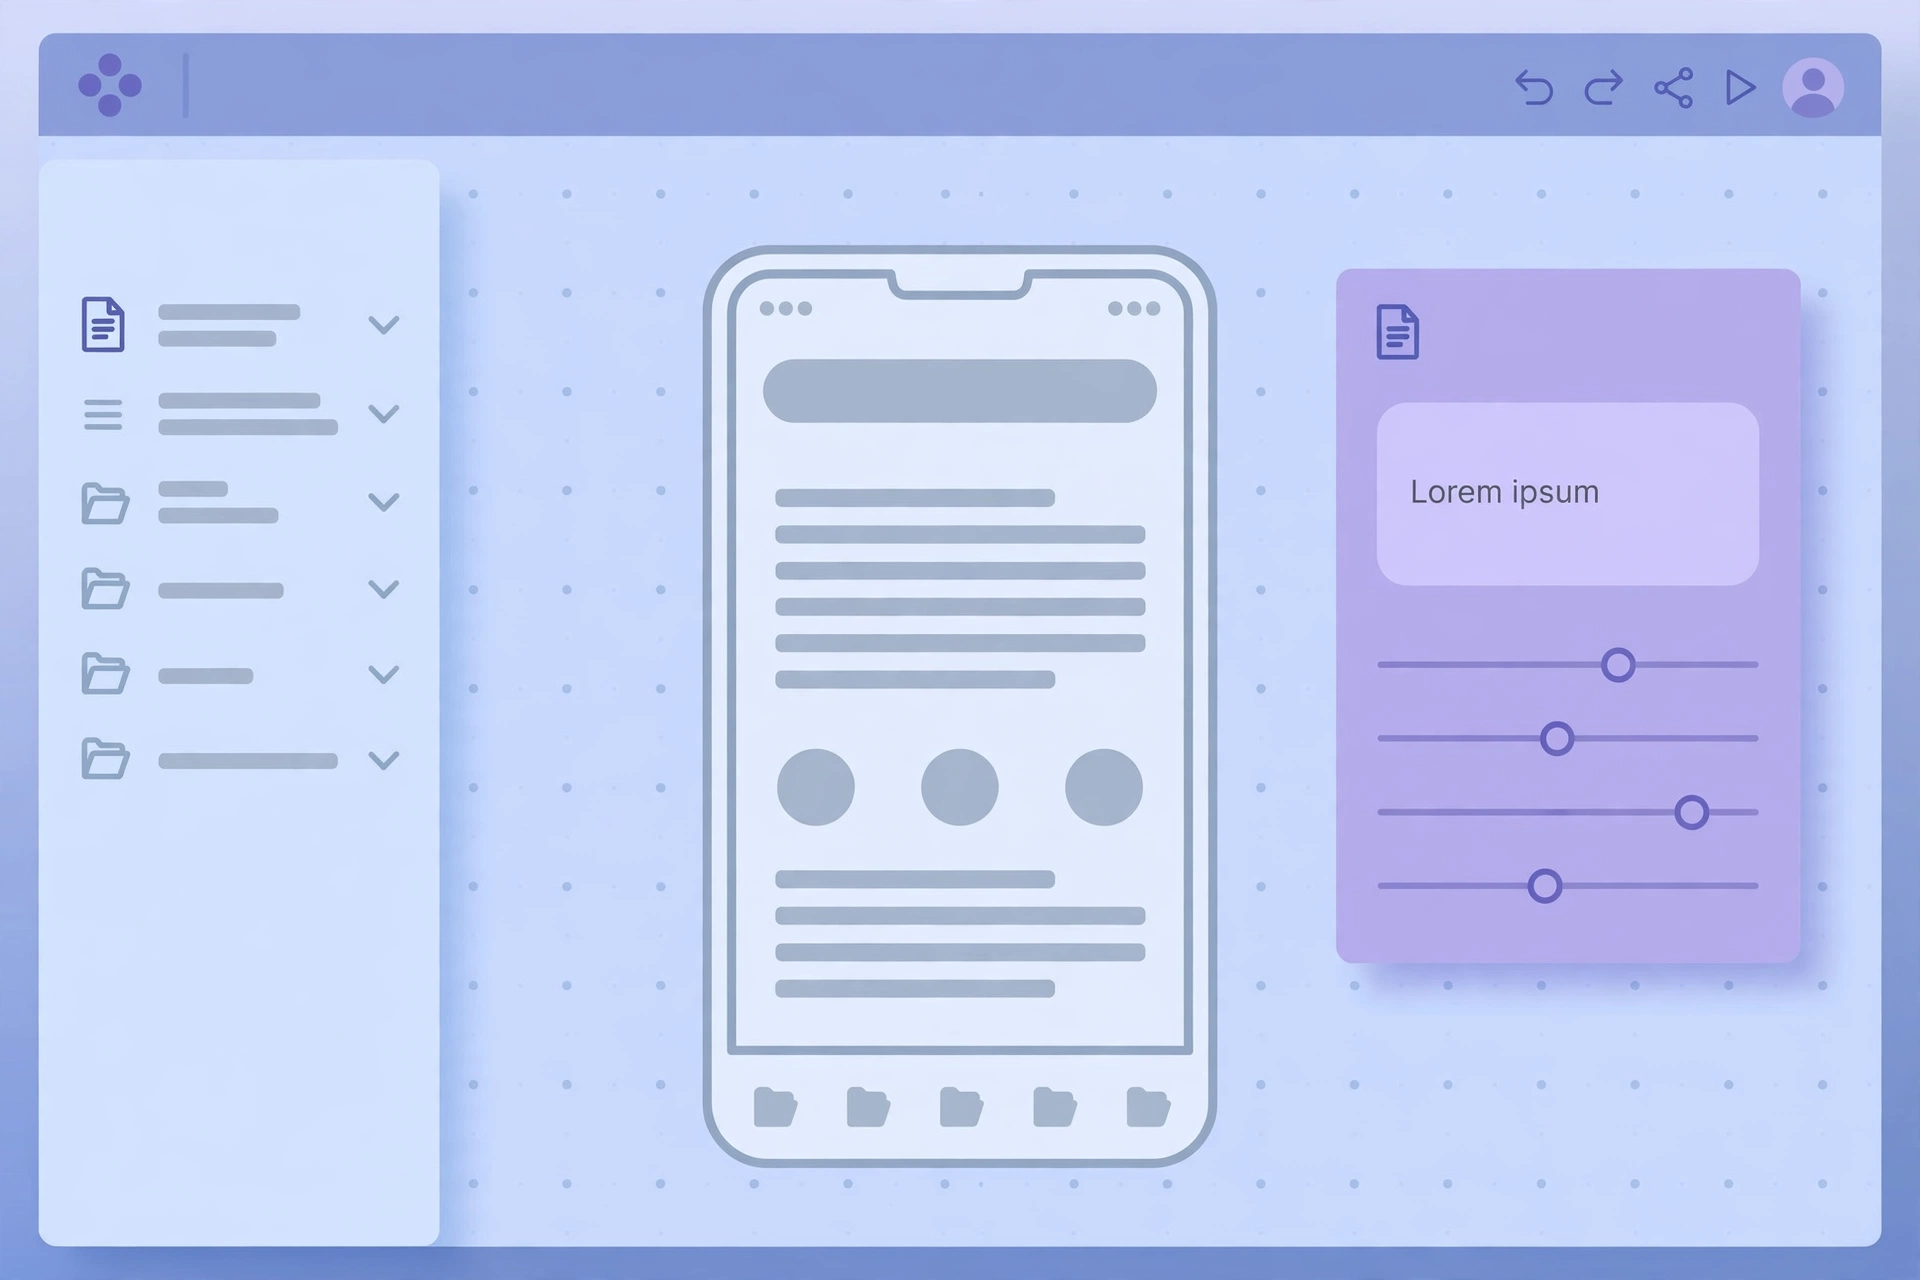
If you add filler text often, a figma lorem ipsum plugin saves you the trip to the browser. Plugins live inside Figma, so you generate text without leaving your canvas.
- With a text layer selected, open the Resources menu (or press Shift + I) and choose Plugins.
- Search for “Lorem Ipsum” in the Community plugins.
- Pick a plugin, choose how many paragraphs, sentences or words you want, and run it. The plugin fills your selected text layer with dummy text.
Some plugins also offer a lorem ipsum generator figma workflow with extra options, such as starting with the classic “Lorem ipsum dolor sit amet” line or generating headings as well as body copy. Try one or two and keep the one whose settings match how you work — most of the popular options are free.
A plugin is fastest when you are already deep in a file. The generator method is better when you want precise control over length, or when you are working on a computer where you cannot install plugins.
Method 3: Reuse Placeholder Text with Text Styles and Components
Once you have good filler in one frame, do not retype it everywhere. Figma’s text styles and components turn a one-off paste into a reusable pattern:
- Save a text style for your placeholder copy, so every filler block uses the same font, size and spacing as the real text will.
- Make a component from a card or article block that contains lorem ipsum. Then duplicate the component across your file — each copy keeps the same realistic text length.
- Use Auto Layout on frames with placeholder text, so the frame grows or shrinks as you swap short filler for long filler. This shows you straight away whether a design breaks with longer copy.
This is where figma placeholder text earns its keep. A component filled with realistic dummy text behaves almost like the finished product, so layout problems show up in the design file instead of after handoff.
How Much Placeholder Text Should You Use?
The golden rule is simple: generate about as much text as the real copy will be. If the final paragraph will be two lines, two lines of filler show you the true layout. A full page of lorem ipsum in a space meant for one sentence gives a misleading preview — and it makes the design look busier than it will be.
A few practical tips:
- Match the length. Short labels get a few words; article cards get a sentence or two; blog pages get full paragraphs.
- Vary it. Use different lengths in different cards, so you can see whether the layout still works when one card has more text than the others.
- Replace it before handoff. Placeholder text is a stand-in, not a deliverable. Swap in real copy before the design goes to development or to a client as final.
Placeholder Text for Wireframes vs. Finished Mockups
Not every stage of a project needs the same kind of filler. In early wireframes, grey bars or a single line of lorem ipsum are enough — the point is structure, not typography. In a finished mockup, use full sentences with your real text styles, because the client is judging how the page will actually read.
If you want something other than classic Latin filler, there are lorem ipsum alternatives too — plain-English dummy text, random words, or text made from your own sample copy. They all do the same job; lorem ipsum is simply the one designers recognise instantly, which is why it stays the default in most Figma files.
Common Mistakes to Avoid
- Leaving lorem ipsum in a shipped design. Always search your file for “lorem” before handoff — a stray paragraph in a live product looks unfinished.
- Using the same block everywhere. Identical filler in every card hides the fact that real content varies in length.
- Judging readability on filler. Lorem ipsum shows you how a design looks, not how easy your real words will be to read.
- Forgetting mobile. Check your placeholder text at mobile widths too — a paragraph that fits on desktop can overflow a phone screen.
Frequently Asked Questions
Does Figma have a built-in lorem ipsum generator?
No. Figma does not include a built-in lorem ipsum feature, so designers add placeholder text with a Community plugin or by pasting text from a free generator such as ours.
Is there a free lorem ipsum plugin for Figma?
Yes. Several free plugins in the Figma Community generate lorem ipsum inside your file. Search for “Lorem Ipsum” under Plugins in the Resources menu and pick one with the options you need.
Can I use lorem ipsum in a commercial Figma project?
Yes. Lorem ipsum text is in the public domain, so you can use it freely in personal and commercial designs, mockups and templates.
What is the fastest way to add placeholder text in Figma?
For a single text box, paste from a generator — it takes seconds. If you add filler text every day, install a figma lorem ipsum plugin once and generate it inside Figma from then on.
Conclusion
Adding lorem ipsum in Figma is a small habit that makes a big difference: it turns empty frames into designs you can actually judge. Paste it in from a free generator when you want control over length, use a figma lorem ipsum plugin when you want speed, and reuse your filler through text styles and components so every screen stays consistent. Try it on your next wireframe — generate the text, drop it in, and let the design speak first.
Leave a Reply